
When an order that contains Beverage Items and other items is held using the Hold Print Function and the "Print Beverages immediately" option is enabled, Idealpos will immediately print all the Beverage Items to the Kitchen Printers.
Any other non-beverage Stock Items will be held from printing via the Hold Print Function until the Clerk either presses the "Finalise and Print" button, or until the Clerk saves the last items to the Held Order using the "Make this the Last Order" button.
This functionality can be enabled in venues where customers want their drinks prioritised and served before their meals.
Before configuring this functionality, ensure that your system is configured for the Hold Print function.
Further details on setting up the Hold Print Function are located in the Setup Hold Print topic.
To configure and use this function, go to: Back Office > Setup > Global Options > Restaurant.
Enable "Print Beverages immediately" within the Hold Print Function section as shown below.
Close the Global Options window to save your change.
In order for this function to correctly identify which items are a Beverage Item, the Stock Item's Department must be linked to a Sales Category called BEVERAGE.
Go to: Back Office > File > Sales > Sales Categories.
Ensure that you have a Sales Category called BEVERAGE.
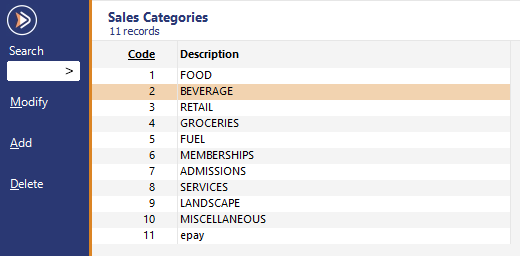
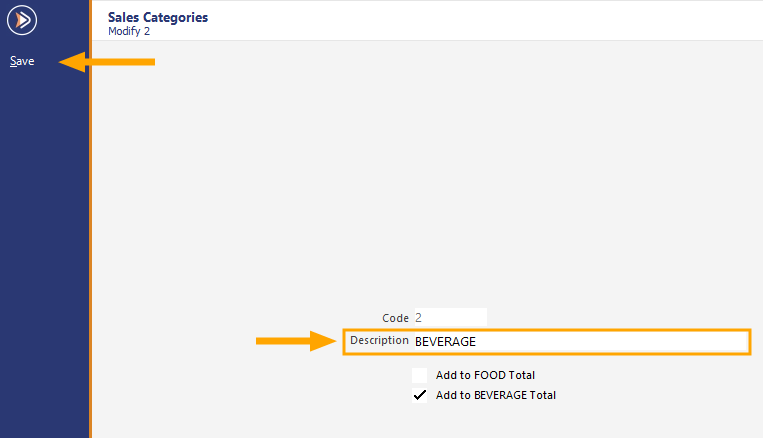
If a BEVERAGE Sales Category does not exist, it may be created by pressing the "Add" button on the top-left corner of the Sales Categories window, entering "BEVERAGE" into the Description then pressing "Save".
Ensure that the Departments used by your Beverage Items are also linked to the BEVERAGE Sales Category.
Go to: Back Office > File > Sales > Departments.
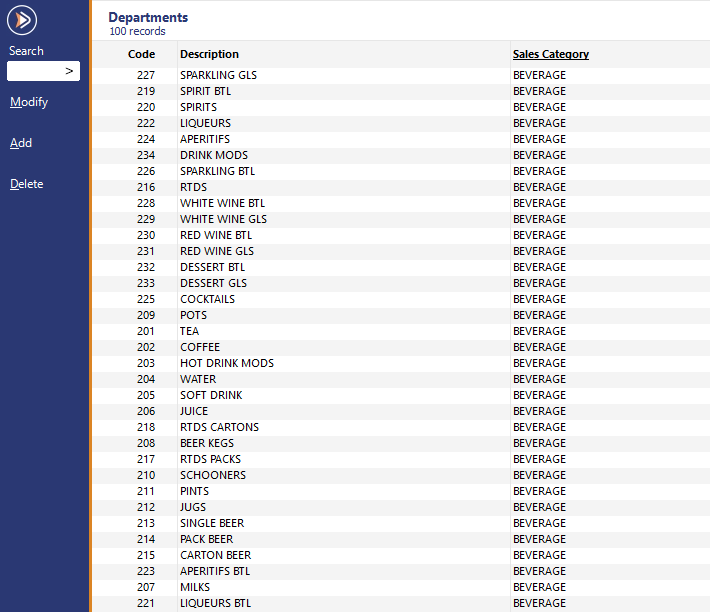
If your system already had a BEVERAGE Sales Category, you may sort by the Sales Category column by pressing the Sales Category column header.
All Departments that are linked to the BEVERAGE Sales Category will be grouped together, similar to the below example:
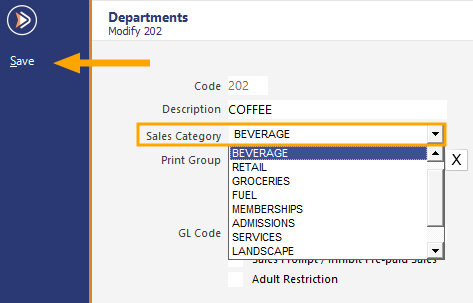
To link a Department to the BEVERAGE Sales Category, select it from the list and press the "Modify" button located on the top-left corner of the window.
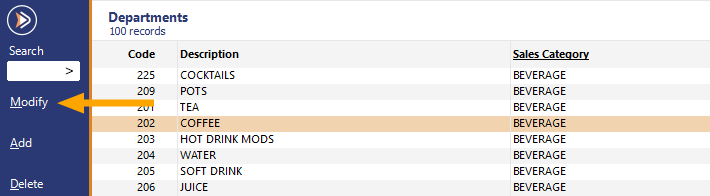
From the Sales Category dropdown box, select BEVERAGE, then press the "Save" button on the top-left corner of the window.
You may repeat this process for all Departments that are required to be linked to the BEVERAGE Sales Category.
The final step to setting up this function is to ensure that your Beverage Stock Items are linked to a Department which has been associated with the BEVERAGE Sales Category.
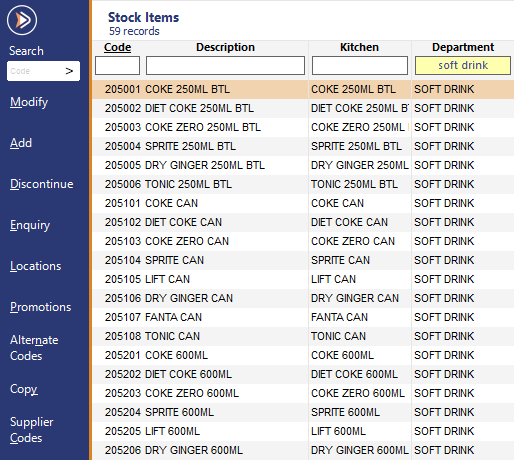
Go to: Back Office > File > Stock Control > Stock Items.
Search for Beverage Stock Items.
They should be linked to a Department which is associated with the BEVERAGE Sales Category.
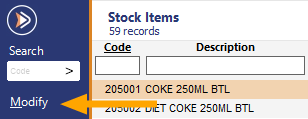
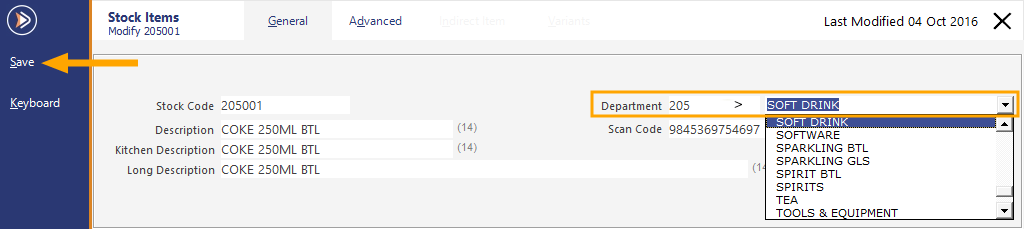
If a Stock Item needs to have the Department modified, select the Stock Item from the list and press the "Modify" button on the top-left hand corner of the window.
Select the required Department from the list, then press the "Save" button on the top-left corner of the window.
Once completed, the Hold Print function is ready for use.
Details on using this function are available here.